2006
2006 started off pretty good. The main loop was done, so we could finally just go outside and run trains. The kids enjoyed watching them go round and round, chasing them, etc. The next step was to finish the partially completed raised bed started in 2005. First, I had to bury another 80′ of 4″ PVC pipe from the back of the house over to the base of the ham radio tower. The raised bed wall would be on top of the pipe, so it had to be done first.
In early April, two pallets of EP Henry bricks arrived, so I began moving them into the back yard and working on the wall.
Then on April 29th, we went in-line skating, and I fell and broke my right arm! After a couple weeks in the cast, I began to move bricks again and actually completed the wall. My wife and son helped move a lot of bricks. In previous years, we’d go on vacation in the summer, then return to wilted/dead plants. Before filling the bed with soil, I installed three runs of 1/2″ irrigation hose. One was for the current bed, two for future beds. This was a good time to install more wiring to deliver power to accessories. Finally, three more cubic yards of soil were placed in the garden. Much of the work was done by Sui and Jason, who felt I was doing too much with the broken arm.
Siding Expansion
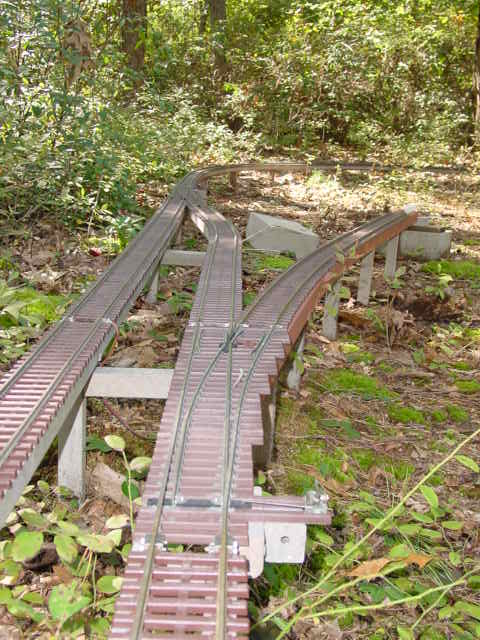
I really wanted to start adding some sidings, so I picked the easiest one to expand. It’s also right next to the oldest part of the railroad. I put in an initial chunk of track, then decided to stop. There is a tree just to the right of the edge of this picture that is on “might be removed” list. Don’t worry, there are hundreds more trees in the yard!
Work Shed
I wanted to build some unique buildings that would be fairly small and lend themselves to mini scenes in themselves. Sitting in the basement was a small railcar that I’ve been slowly working on, so a small work shed with the speeder in it seemed a natural. This is roughly based on a Pennsylvania RR prototype. The wood was all machined in my garage from an old redwood picnic table set that my father won in 1970. My father died the next year, and the set was sitting in the barn on our farm for many years. When my brothers were cleaning out the barn, I offered to take the old set and have been making scale lumber with it ever since.
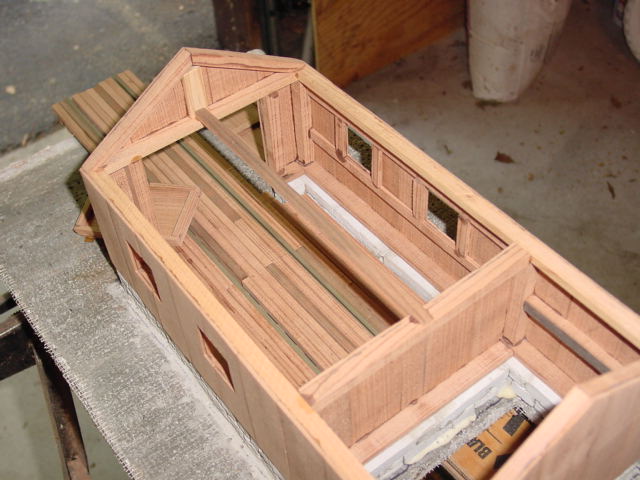
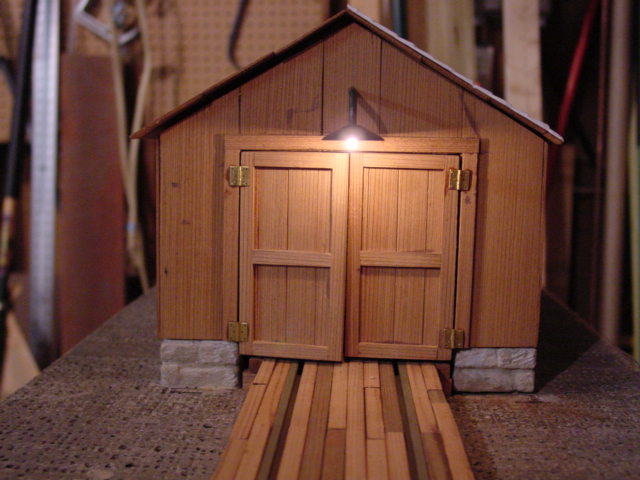
The foundation is poured cement using molds from Jig Stones. The “room” in the back has no windows and is open. This will be where all the electrical feeds for accessories will be located. One wire is from the main power supply, the rest all run to other sections of the layout for further distribution. As can be seen, this project is still “on the bench”. The slate roof is cut for one side, but not painted nor glued on. Yes, the hinges from Micromark really work. The light is from Bridge Masters and looks pretty nice!