Building a K3
The Elecraft K3 is one of, if not the, highest rated ham radios on the market. They have excellent (not good or very good) receivers, can be ordered fully assembled or as a partial kit, and are made in the United States. I hear lots of hams complain about how all the American radio manufacturers have folded and they’re all running Japanese radios, yet most have no interest in Elecraft despite the extremely high ratings their products get. I’ve heard someone say they told a contact that they were using Elecraft and the other person say “Hallicrafters is back in business?” Ugh.
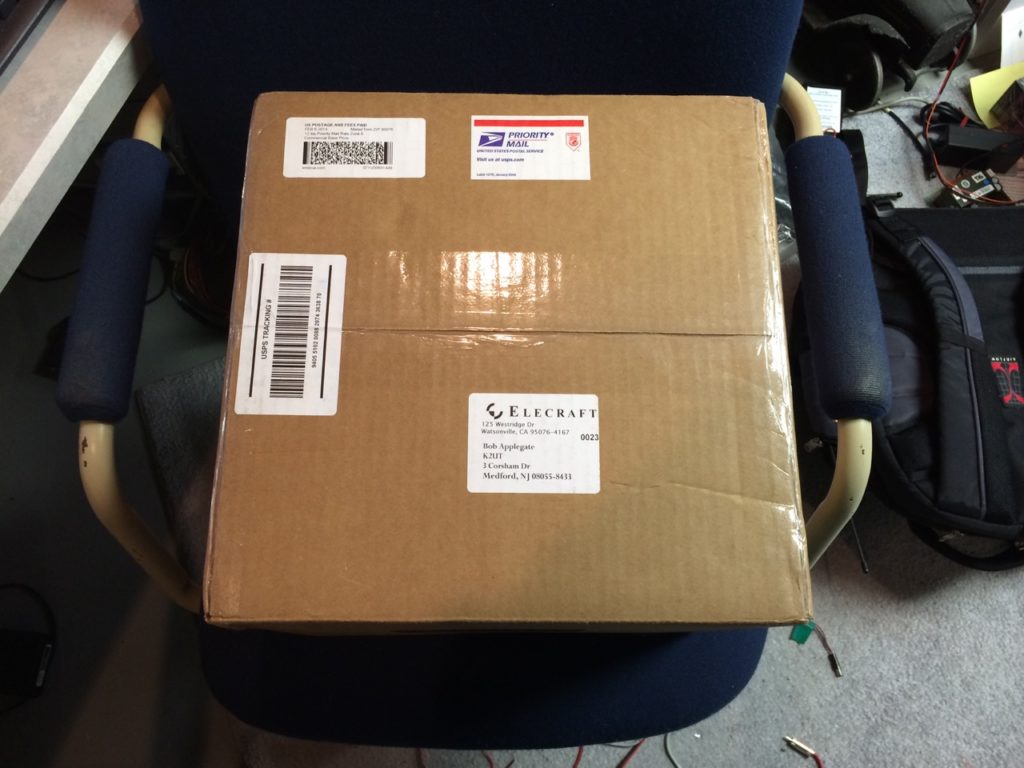
So, after months of fun with the KX3, I finally boxed up the FT-1000 Field and ordered a K3/10 kit in January 2014. A neat box arrived February 8th:
Elecraft “kits” are fully soldered, so construction consists of assembling all the boards, panels and other mechanical parts into a complete radio. The K3 is very modular, so you get a base radio and then add whatever other modules you want. Over the years I’ve expanded mine quite a bit.
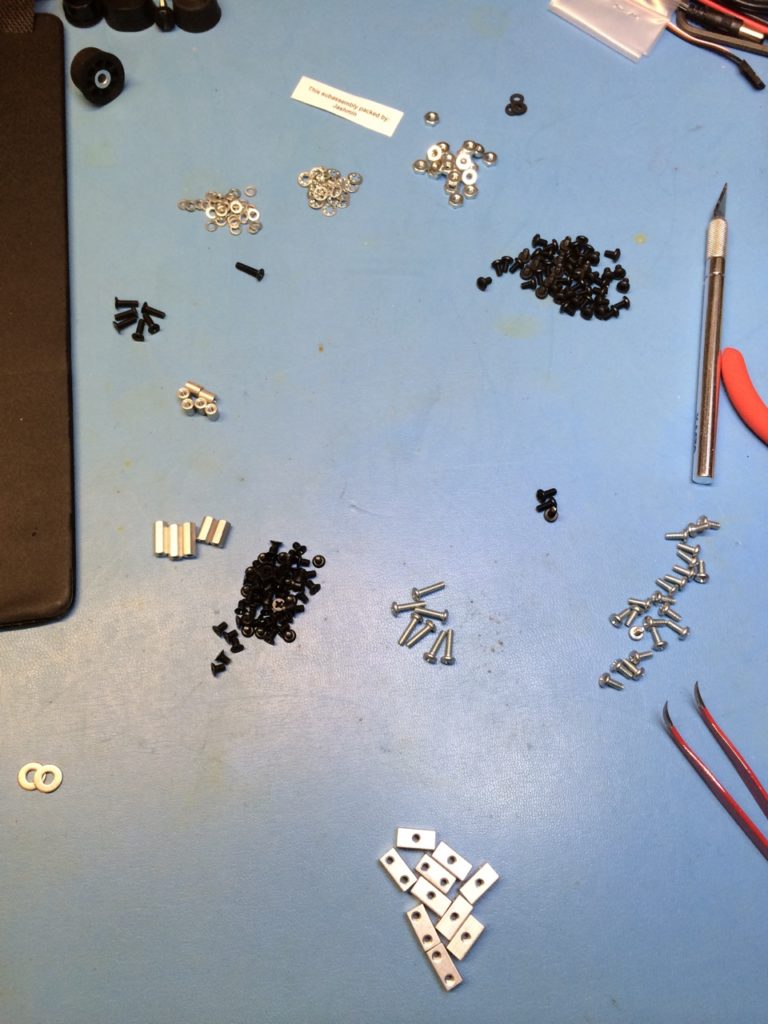
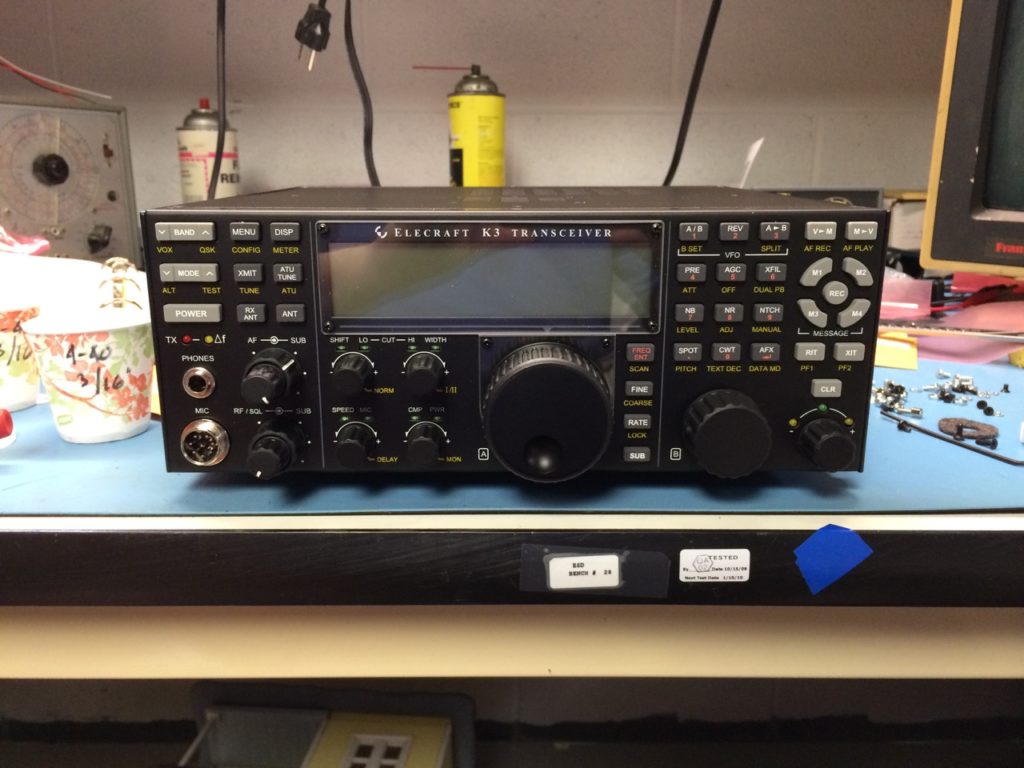
First things first, separate the various screws and other small mechanical items and put them into labeled containers so you’ll know exactly where each piece is when assembling. It’s also important to have an ESD safe area to work in. My bench has a grounded ESD mat (pretty blue) and I always use a grounded wrist strap when working.
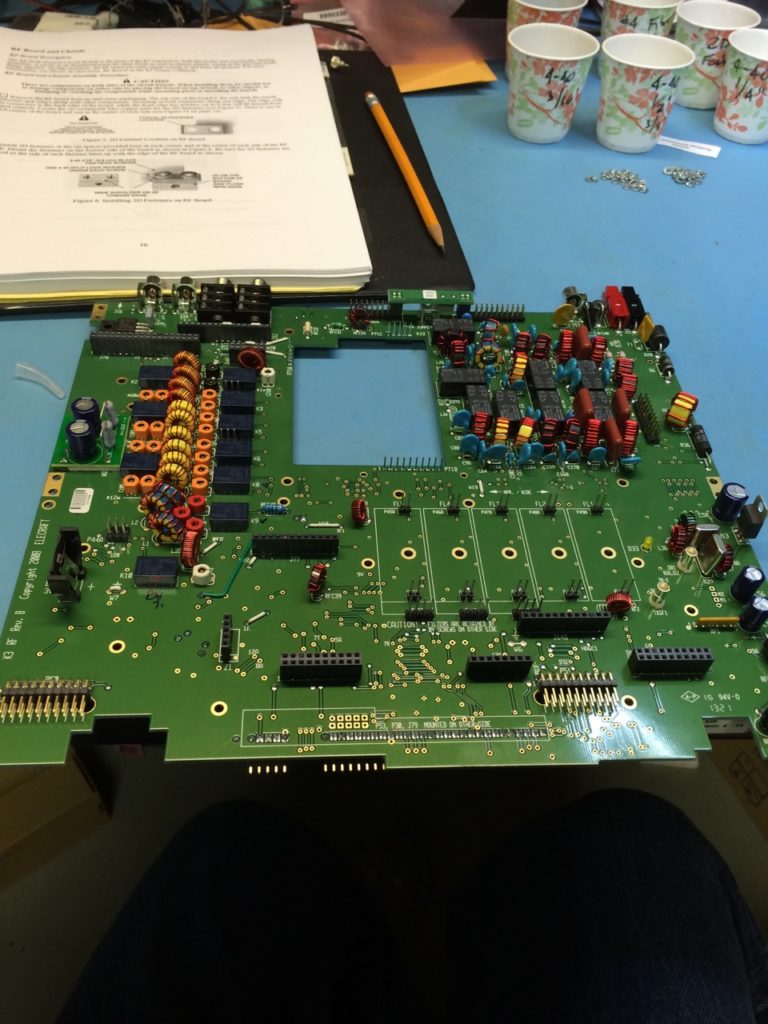
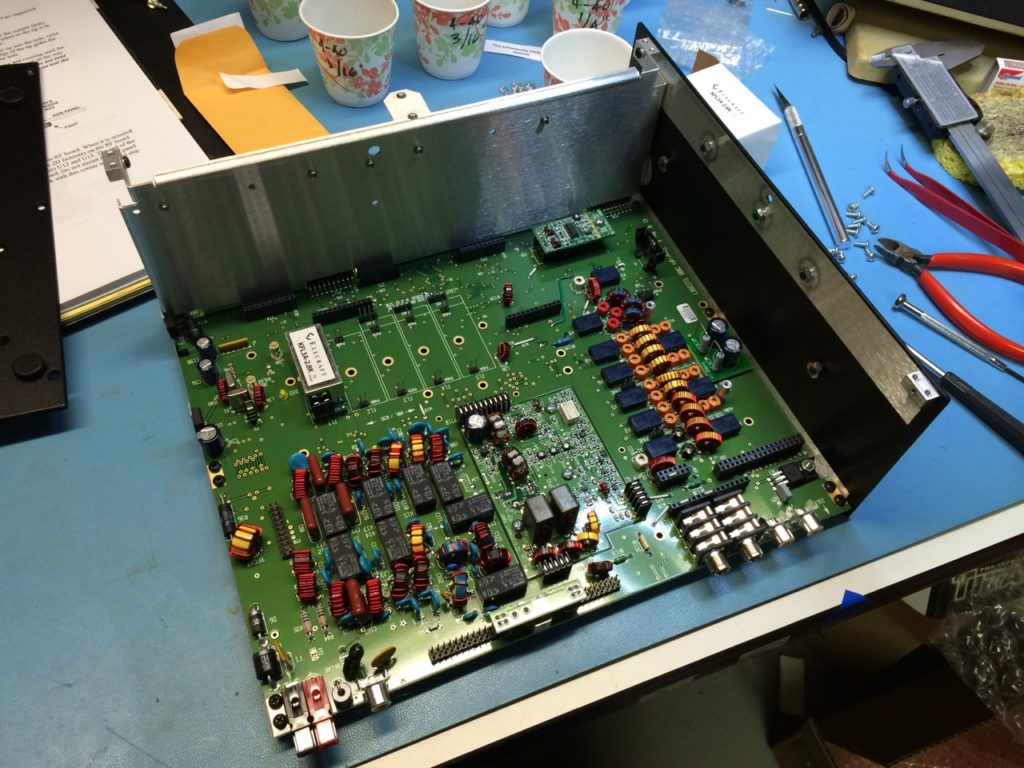
Notice the cups with parts. This is the main board just pulled out of the bag. The assembly manual is in the back. The five big rectangles on the board are for IF filters, and the open space in the middle is for the transmit amplifier:
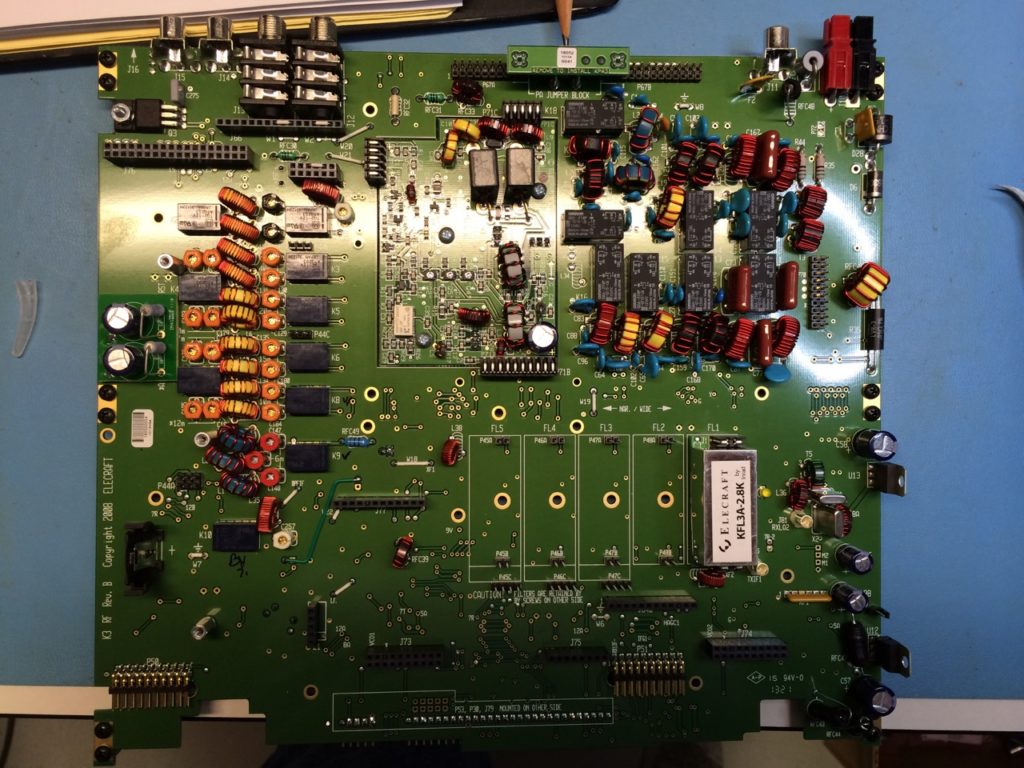
The 10 watt amplifier and IF filter have been installed:
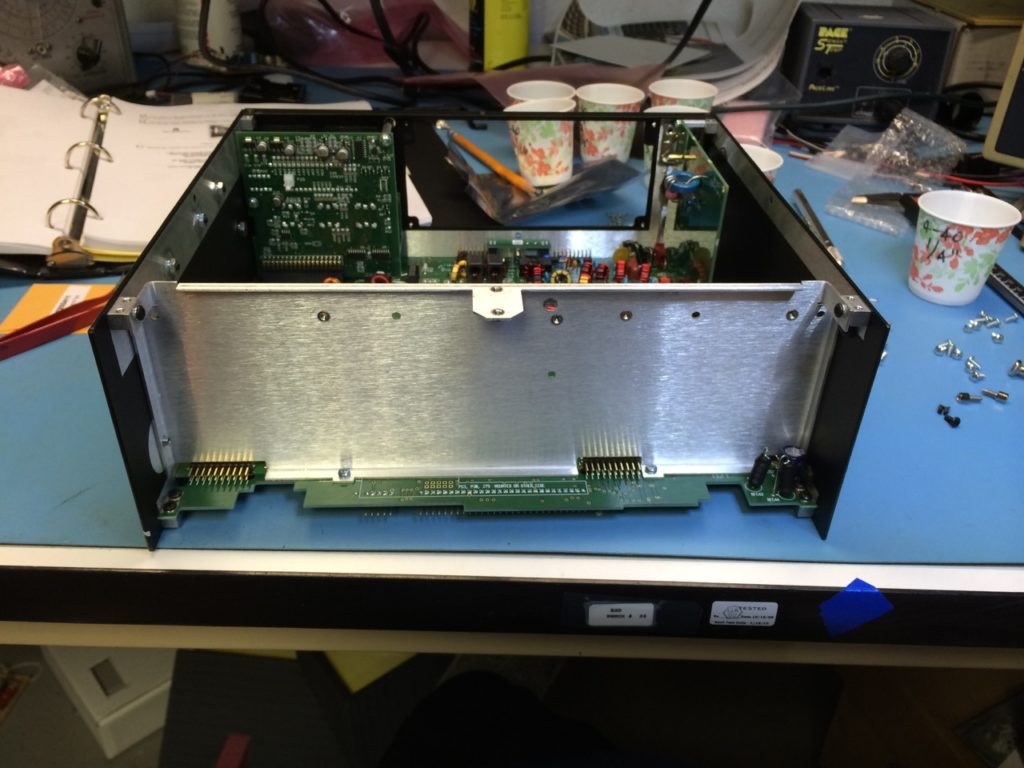
The mechanical construction is a bit unusual in that everything mounts to the main PC board rather than having a chassis that the boards mount to. You can see front sub-panel and one side panel are mounted to the board:
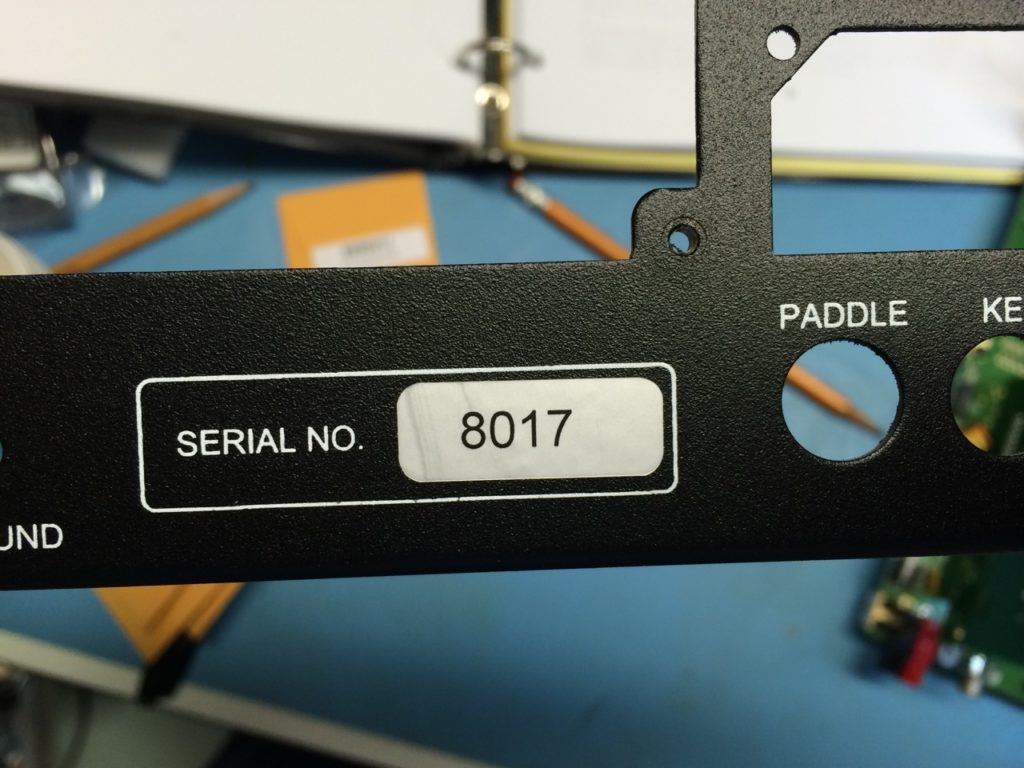
The most important part… the rear panel with my serial number. Elecraft owners often exchange serial numbers when talking to each other:
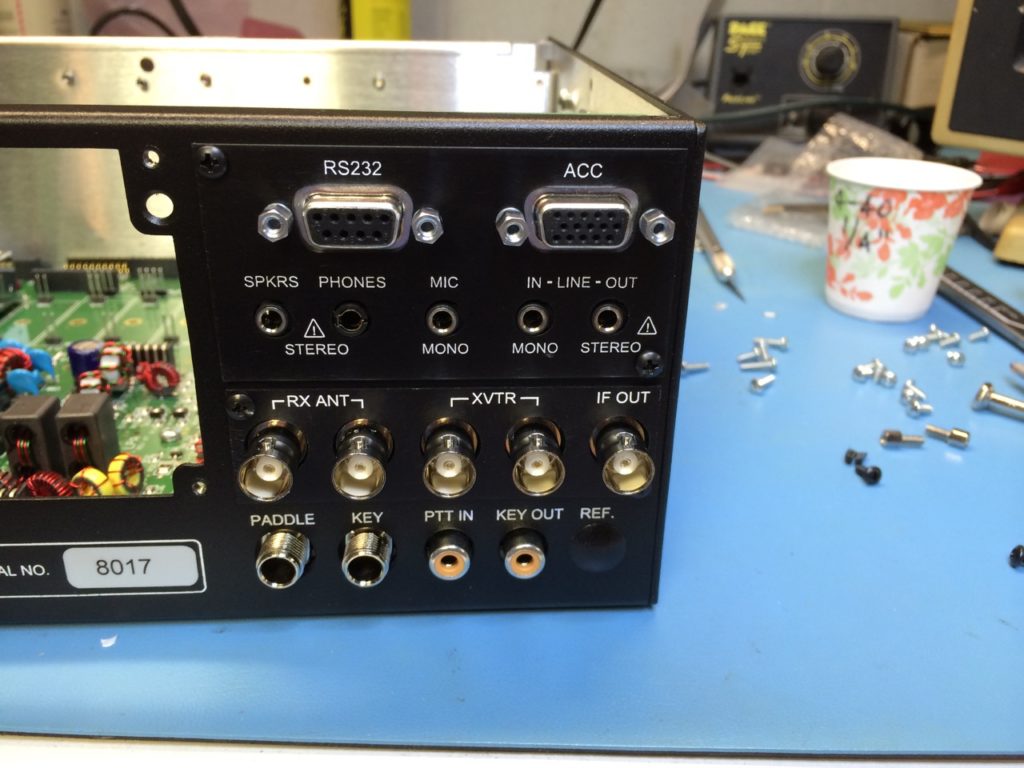
The rear panel after more pieces were installed:
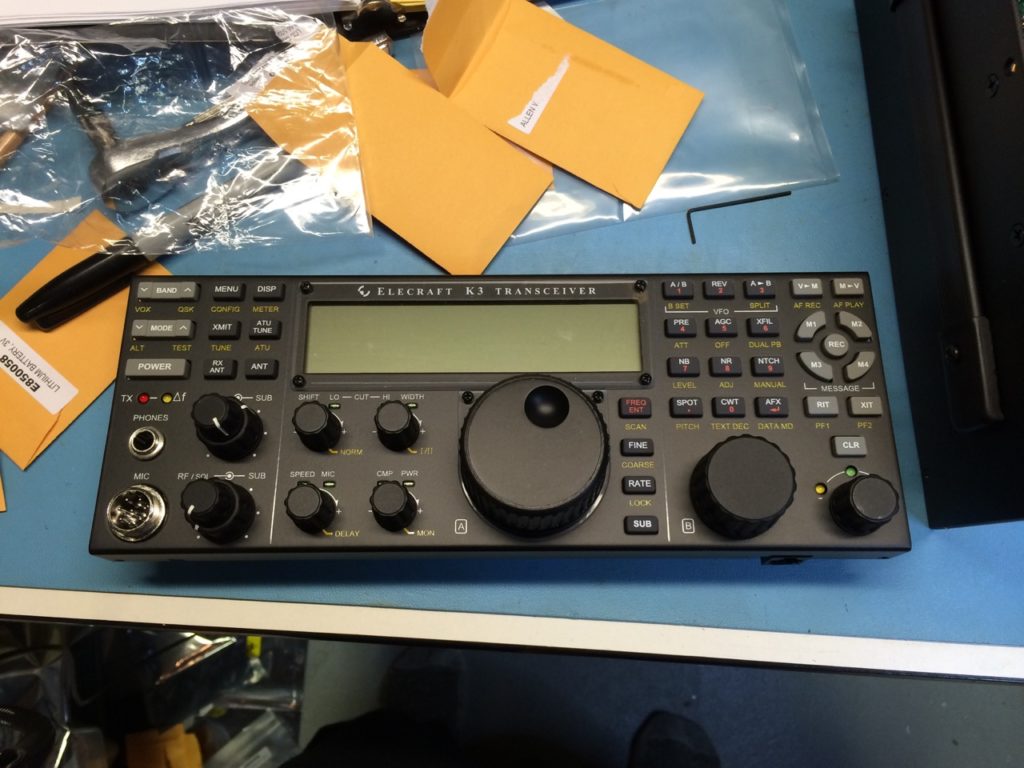
It’s starting to look like a radio now:

The front panel was one of the longer assembly processes due to all the nuts to put on:
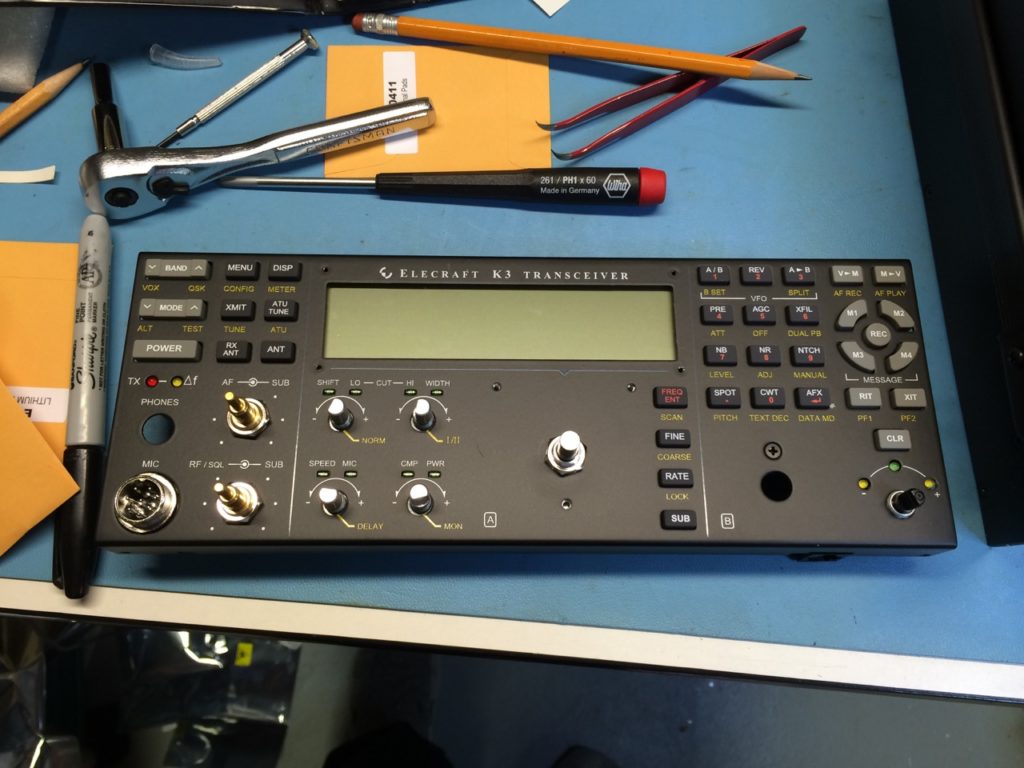
The front panel is fully assembled:
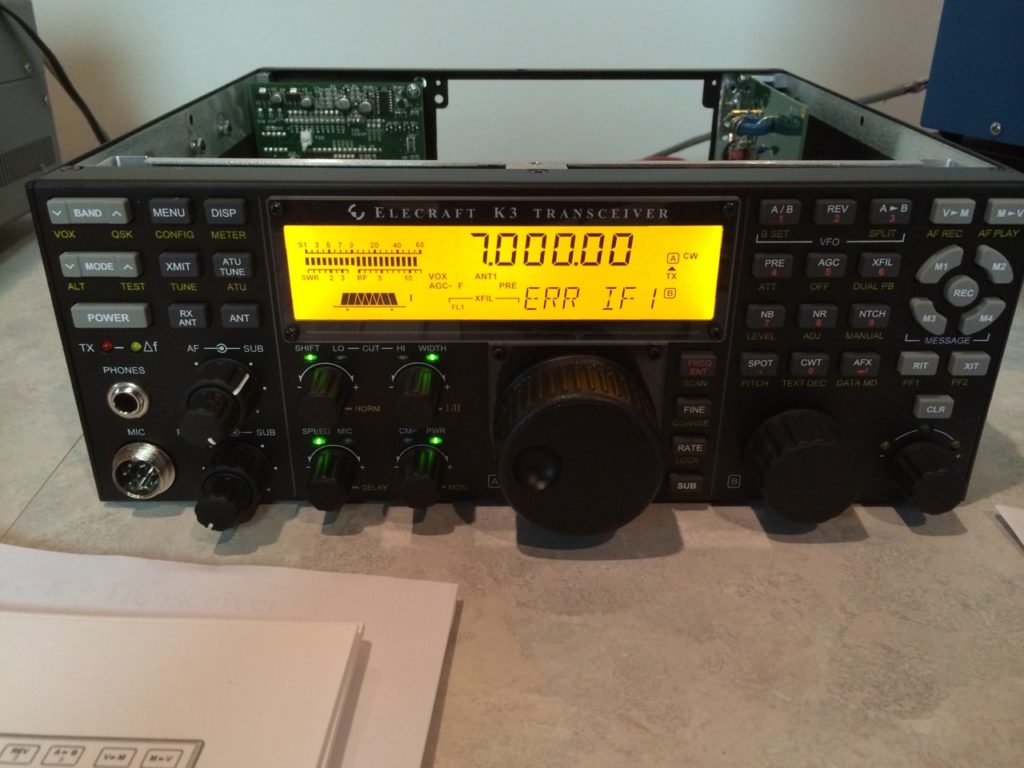
Front panel installed and the first power-on! No smoke, so that’s good The error isn’t real because the configuration process hasn’t been done. Ie, the main processor doesn’t know what’s installed so things aren’t right from its perspective. Once the basic configuration was completed, the “error” was gone.
Pretty…
It’s easy to see how compact this rig is compared to the standard bathroom paper cup sitting just to the side:
Once assembled, there are a number of calibration steps needed. Don’t skip these.
A word of warning here… it asks for a 100 watt dummy load. I had resonant antennas on most bands so I figured that would be good enough… not so! It will transmit on every band for internal calibrations, so I had to quickly construct a dummy load. Elecraft makes a small 20 watt dummy load, so consider adding that to your order. It only transmits a few seconds at a time so the smaller dummy load was able to handle the heating.
The construction manual is kind of like the old Heathkit manuals. Start at page 1, check off each box as you complete each step, and you’ll end up with a great radio. Again, there is no soldering here, so anyone who can identify mechanical parts, follow instructions and look at pictures can put a K3 together.

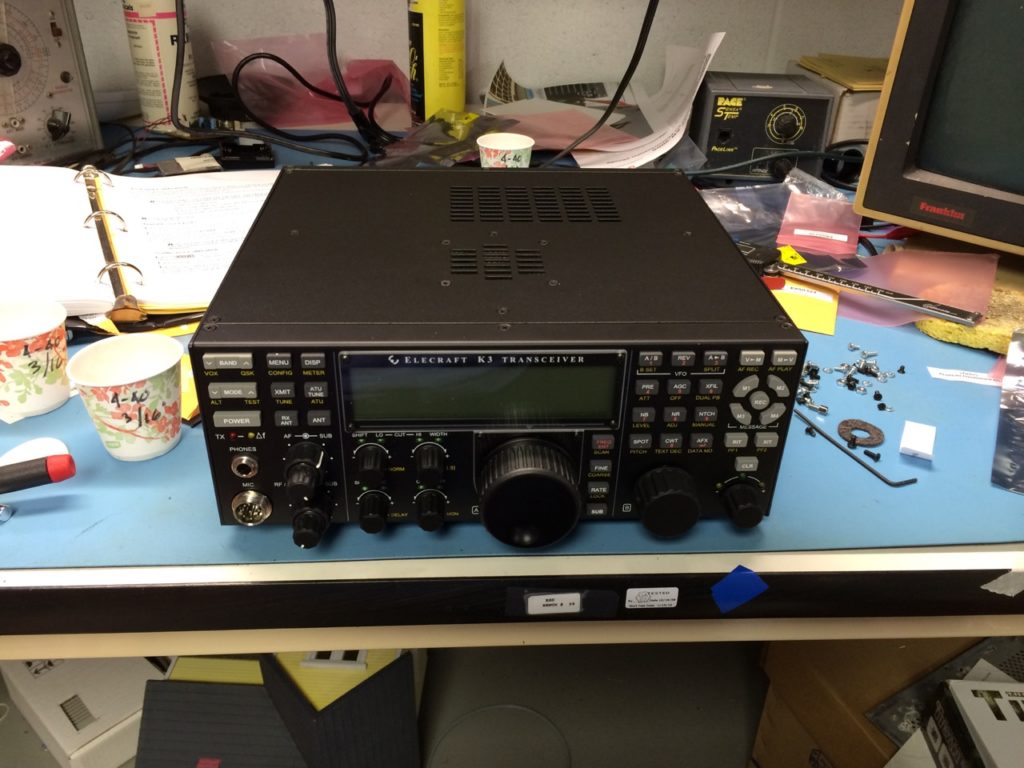
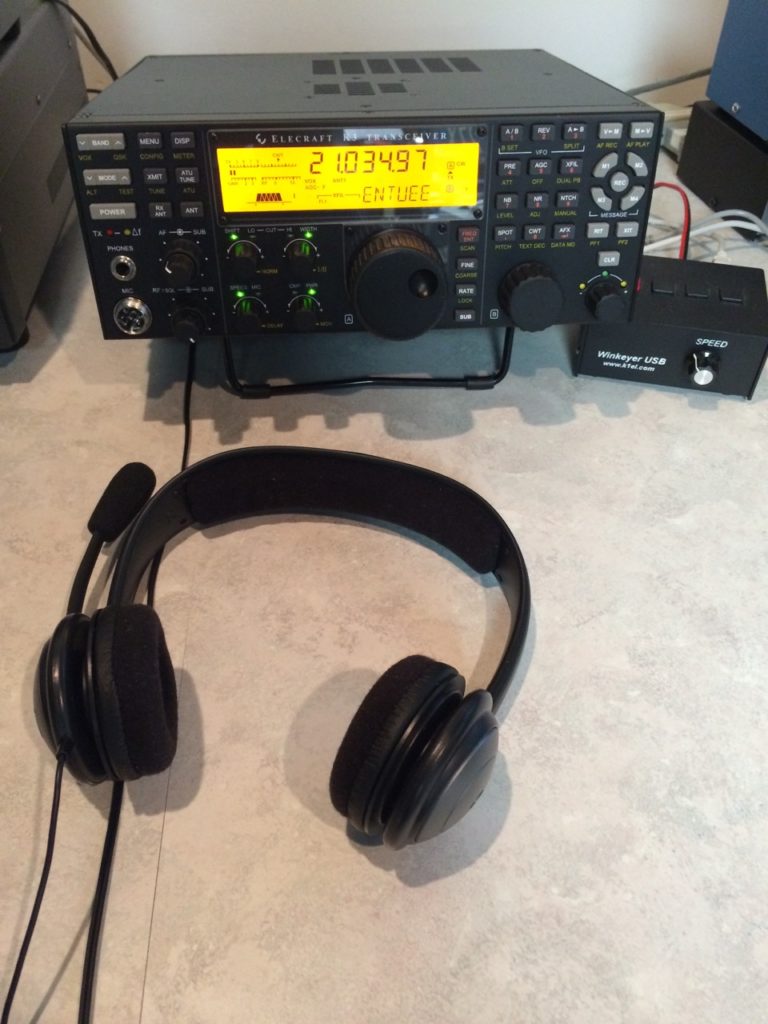
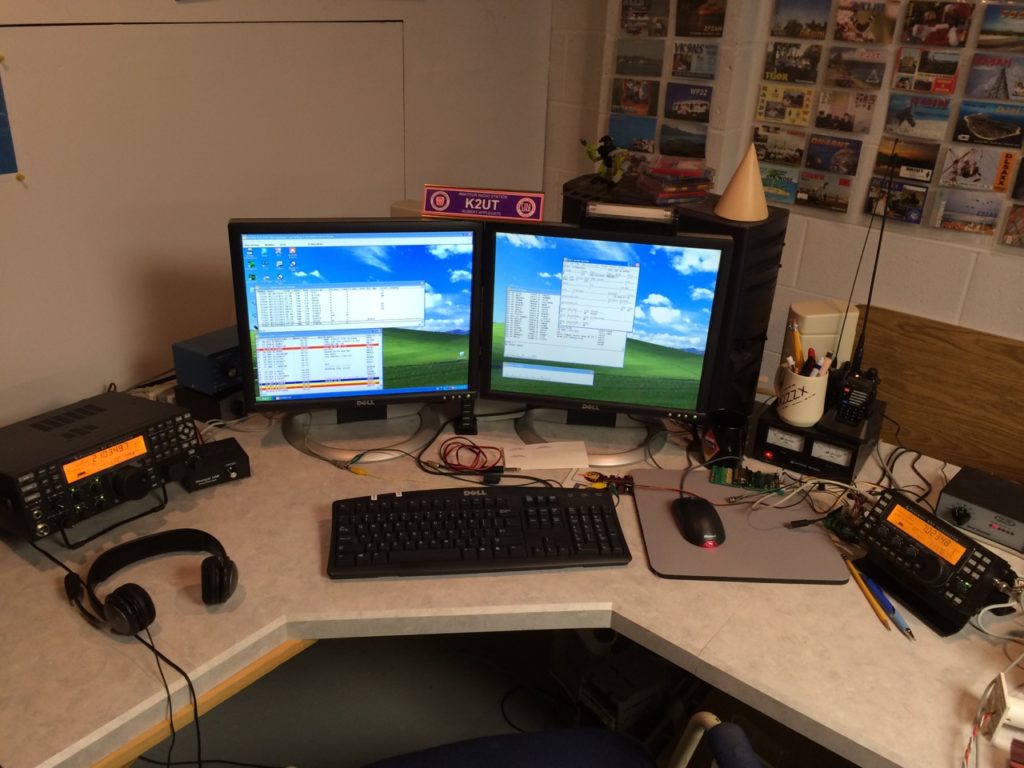
Installed in the shack, in use:
The KX3 (to the right) doesn’t get quite as much use in the shack since the K3 can easily run QRP too. Don’t feel sad for the KX3, as it goes on backpacking trips and sometimes just short trips to the deck in the back yard. It also gets used for a lot of demonstrations to Scouts.
I forgot to note the total build time, but the kit arrived one day, and 24 hours later it was on the air. Include some time for sleeping, eating, family, etc, but it wasn’t that long to build it. Instructions were excellent and the Elecraft reflector is loaded with people who can answer questions within minutes. And don’t forget that the owners of the company are also in the reflector along with many employees, so sometimes questions are answered by the engineer who designed the product!
Let me remind you again that the K3 is modular, so you add accessories as you want. My original was really stripped down, only 10 watts, one IF filter, etc. Over the years I’ve added quite a few options including several more filters, the 100 watt amp, etc. About the only big add-ons missing are the second receiver and the additional filters for it. Most updates take under an hour to install because it’s such a nicely designed radio.
The K3 has been an excellent performing rig and I am always happy with the purchase every time I get on the air. I’ve gotten many compliments on the quality of the audio and have never experienced any problem.